 (
(

OVERVIEW
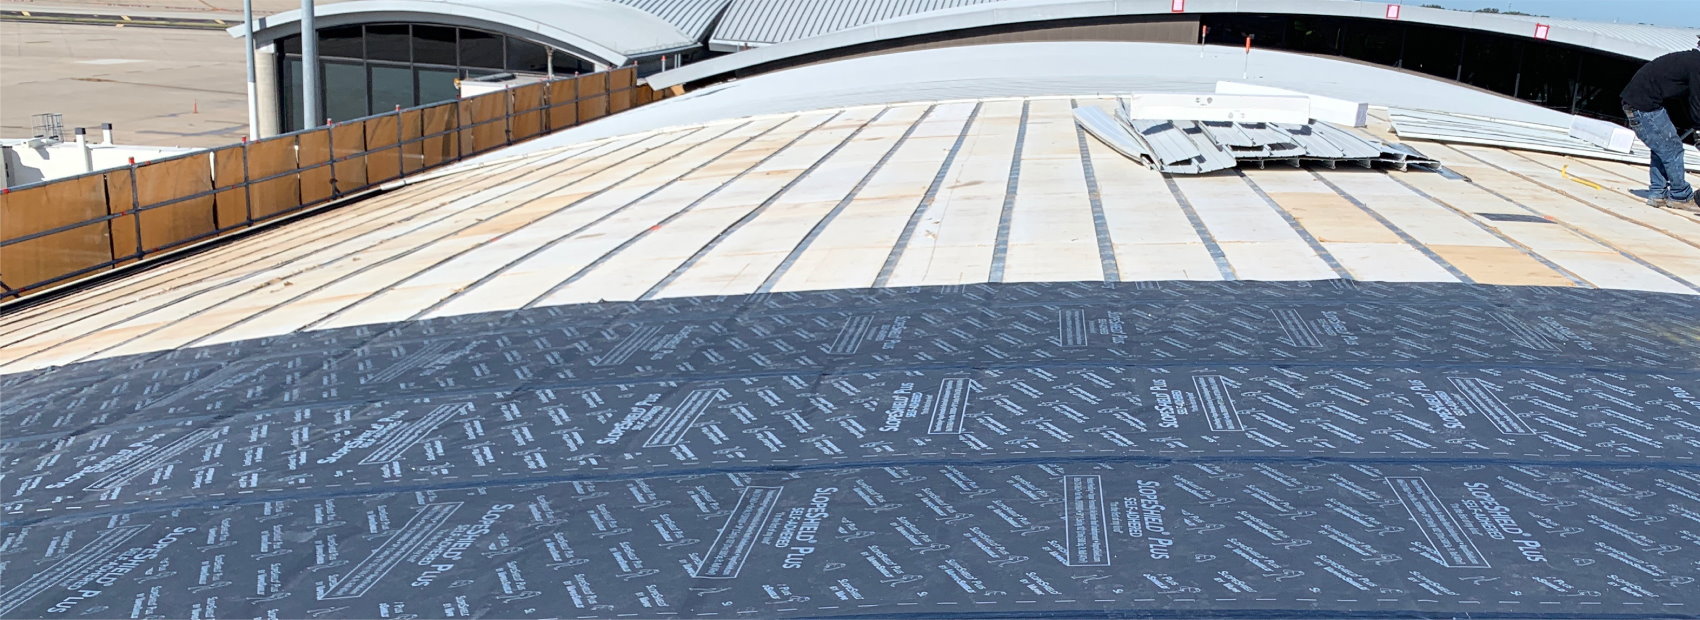
- SlopeShield Plus Self-Adhered roofing underlayment protects the roofing assembly by allowing vapor to pass through (breathable) but not air or liquid — mitigating costly moisture damage and saving energy for the life of the building
- SlopeShield Plus Self-Adhered is installed on steep slope roofs of 2:12 (9.46 degrees) or greater pitch.
ROOFING SYSTEM COMPATIBILITY
SlopeShield Plus Self-Adhered roofing underlayment can be installed under a variety of roofing systems including:
|
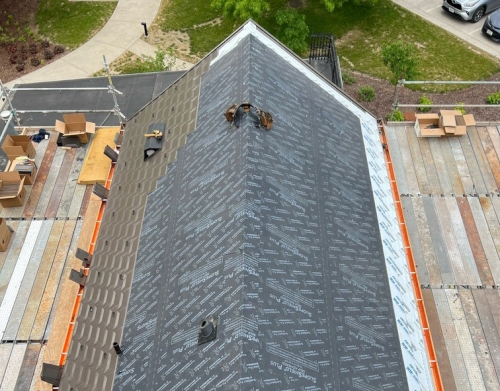
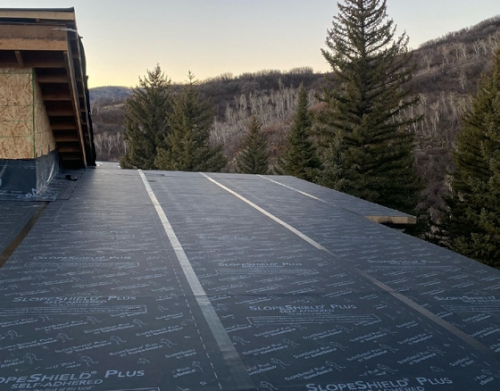
Standing Seam Metal Roof |
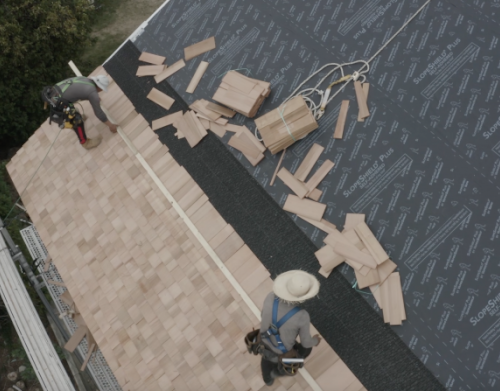
Cedar Shingles/Shakes with VaproMat Drainage Matrix |
Slate Roof |
Tile Roof |
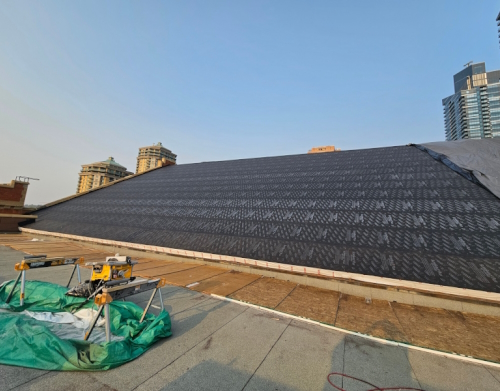
COMPATIBLE ROOF DECK SUBSTRATES
- Gypsum-based Roof Sheathing
- Rigid Insulation
- Concrete
- Plywood
- Mass Timber
- Pre-painted Steel
- Galvanized Metal
- Aluminum (Painted/Mill Finish)
- OSB and most OSB factory-coated products
SUBSTRATE INFORMATION
- Verify that surfaces and conditions are ready to accept the work of this section. Notify [engineer] [architect] [consultant] in writing of any discrepancies.
- Mechanical fasteners used to secure sheathing boards, insulation or penetrate roof deck shall be set flush with surface and fastened into solid backing.
- All surfaces must be clean and dry to the touch and in “as new condition;” sound, clean and free of oil, grease, dirt, or other contaminants.
- Minimum application temperature 20°F (-6.7°C) and rising.
DELIVERY, PACKAGING AND STORAGE
- Store roll materials vertically on end in original packaging at temperatures between 40°F and 120°F (4ºC - 49ºC).
- Protect materials from direct sunlight and inclement weather until ready for use.
INSTALLATION BEST PRACTICES
- Primer is NOT required or recommended
- Plan the installation and layout of SlopeShield Plus Self-Adhered PRIOR to application to minimize waste
- Ensure substrate fasteners are flush with surface and fastened into solid backing
- Roll out material with release film intact, check for proper alignment, reposition, and align as required
- Pre-cut SlopeShield Plus Self-Adhered membrane to desired manageable lengths prior to removing release film. At bottom of roof allow for excess material to accommodate wall WRB/AB connects.
- Snap chalk lines for alignment guidance
- Align and place exposed membrane into position use hand pressure to adhere membrane to substrate
- Re-roll material back to starting location with release film intact
- Keep SlopeShield Plus Self-Adhered membrane and release film in contact with deck as you pull the release film.
- Pull release film and smooth out air bubbles with soft bristle push broom
- Roll underlayment with two-handed roller to ensure proper adhesion to substrate
- On low slope roofs, 2:12 (9.46 degrees) and below or in low lying areas, such as drains and valleys, VaproShield requires all seams be covered with VaproTape™. VaproTape must be installed over a dry surface, in a dry environment. VaproTape must be properly pressure rolled to ensure proper adhesion.
- For all slope conditions, when SlopeShield Plus SA is installed in a vertical fashion—same direction as the slope—VaproTape is required on the vertical seams.
- For steep slope applications, 2:12 and greater pitch, SlopeShield Plus SA may be installed in a shingle fashion, perpendicular to the roof slope, without VaproTape.
- AVOID EXCESSIVE FOOT TRAFFIC on installed SlopeShield Plus Self-Adhered roof underlayment
- Avoid construction material storage on installed SlopeShield Plus Self-Adhered roof underlayment
- For Roofing Penetration Details and to ensure water and airtight details around penetrations (skylights, curbs etc.), refer to VaproShield.com.
- Consider extra measures to secure all edges in high wind situations.
LIMITATIONS
- SlopeShield Plus SA should be covered within 180 days (6 months) of installation with permanent roofing material.
- SlopeShield Plus SA may be utilized as temporary water hold out based upon proper installation.
- Minimum recommended application temperature of 20˚F (- 6.0˚C) and rising.
- For roof slopes 2:12 (9.46 degrees) and below refer to low-slope installation instructions.
- If desired adhesion is not attained between membranes due to site conditions, VaproShield recommends applying a bead of VaproBond as an additional solution to pressure rolling.
- Weather conditions, dew, application temperature, installation techniques, and moisture can affect the bond of SlopeShield Plus SA and accessory components.
- Use extra caution during overnight or early morning installations, as dew can form quickly and be difficult to detect on the black membrane surface.
- Apply only in dry conditions.
- Ensure all sealants, tapes, and membrane laps are properly rolled and verify bond quality after installation.
- Do not expose the membrane to ponding water.
- Provide positive drainage on all surfaces.
- Do not apply hot asphalt or hot rubber directly to the membrane surface.
SAFETY
- Persons who access any roofs, involved with roof construction, repair or maintenance shall use appropriate personal protective equipment including, but not limited to, hard hats, eye protection, and leather gloves and must be trained on safe practices relevant to their work.
- Where the use of ladders, scaffolds, platforms, or temporary floors are utilized, safety lines and safety harnesses shall be used. Please access the OSHA Web site at www.osha.gov, contact your local OSHA office, or visit the local federal bookstore to obtain the most current information on OSHA 29 CFR 1926.
CAUTION: Release liners are slippery. To prevent injury, liner should be removed from under foot as soon as membrane is installed and disposed of properly
|
STANDING SEAM METAL ROOF Best Practice Horizontal Installation Instructions |
|
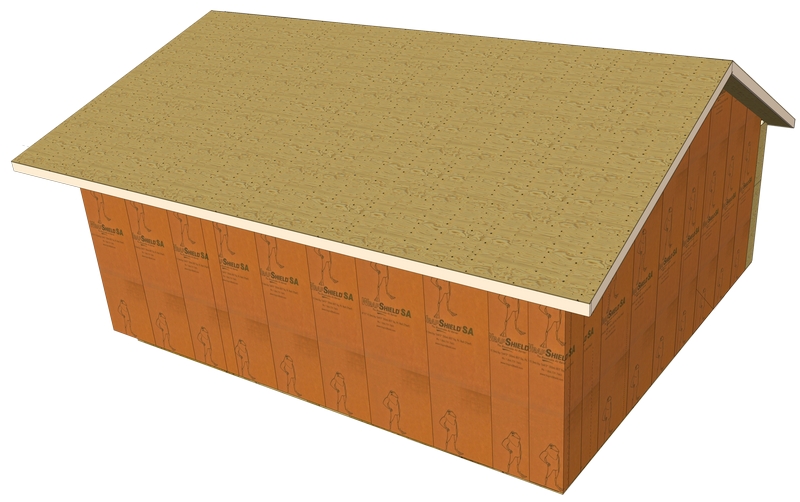
1. Ensure sheathing is in “as-new” condition |
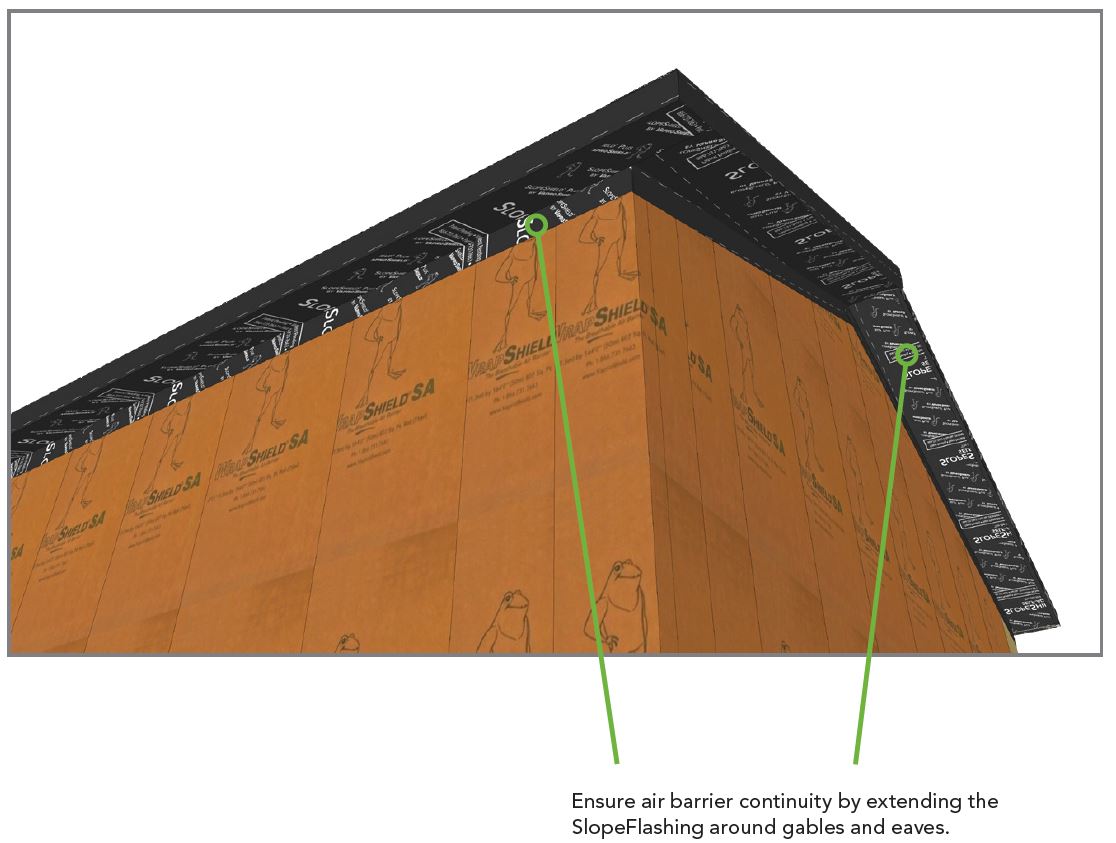
2. Install SlopeFlashing around eaves, extending underlayment down and shingling over wall membrane, if required for air barrier continuity |
|
3. Install SlopeFlashing on roof gables, extending underlayment down and shingling over wall membrane, if required for air barrier continuity |
4. Install metal flashing (by others) over SlopeFlashing |
|
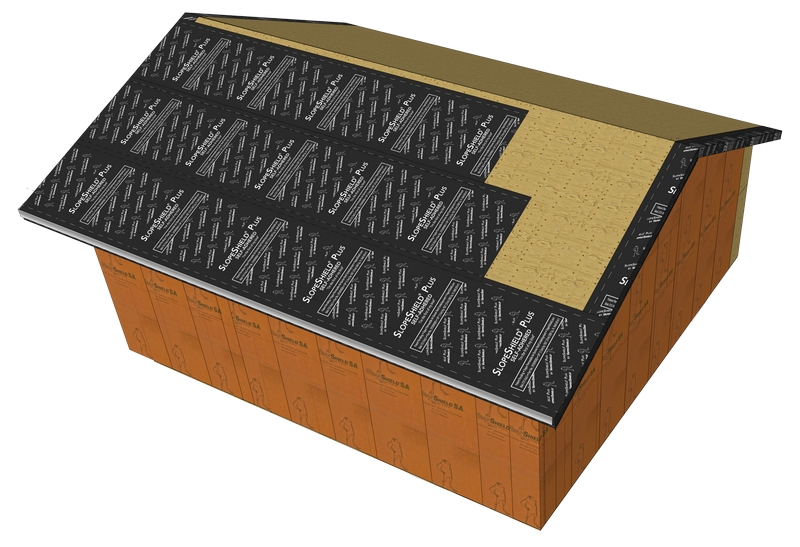
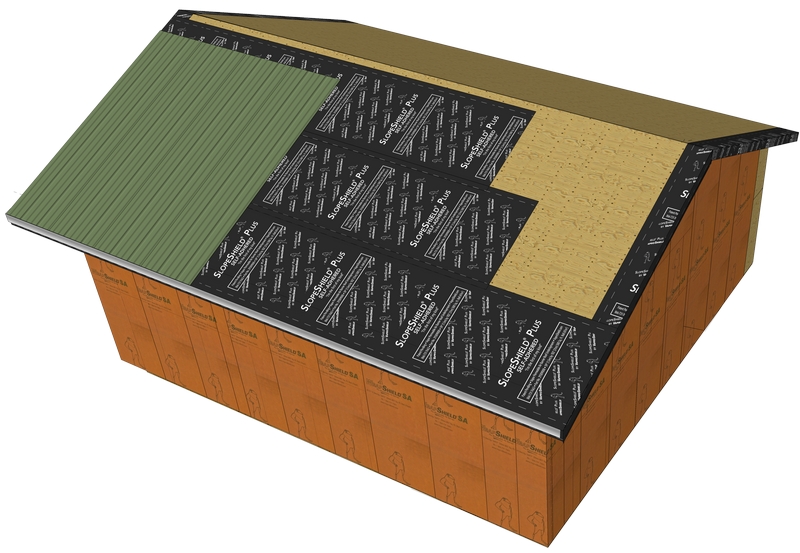
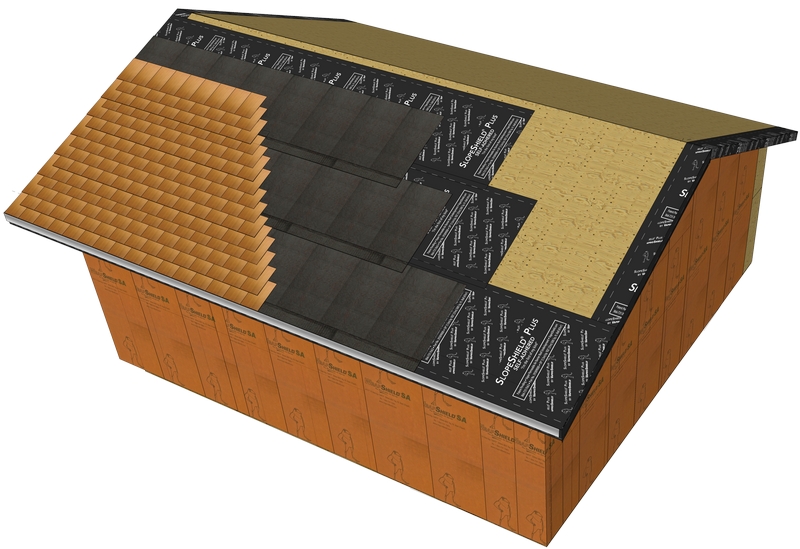
5h. Horizontally install SlopeShield Plus underlayment across roof, starting at the bottom of the roof |
6h. Continue installation maintaining a minimum 3" overlap between runs |
|
7h. Install roofing material according to manufacturer's installation guidelines |
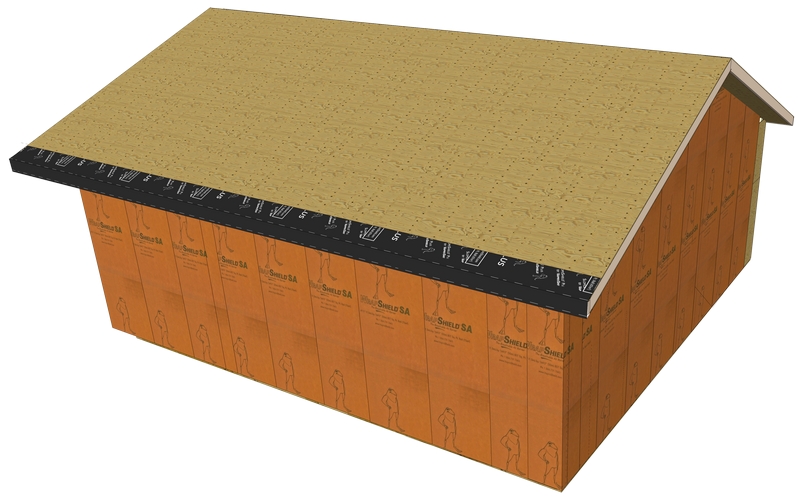
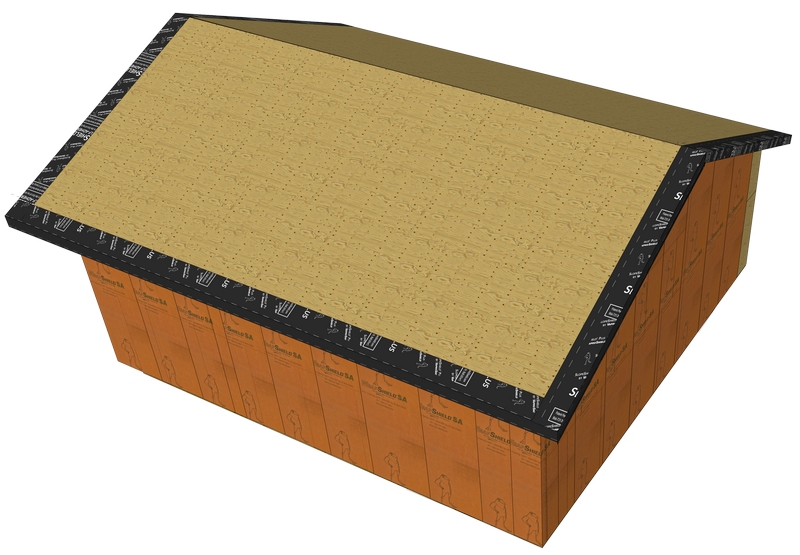
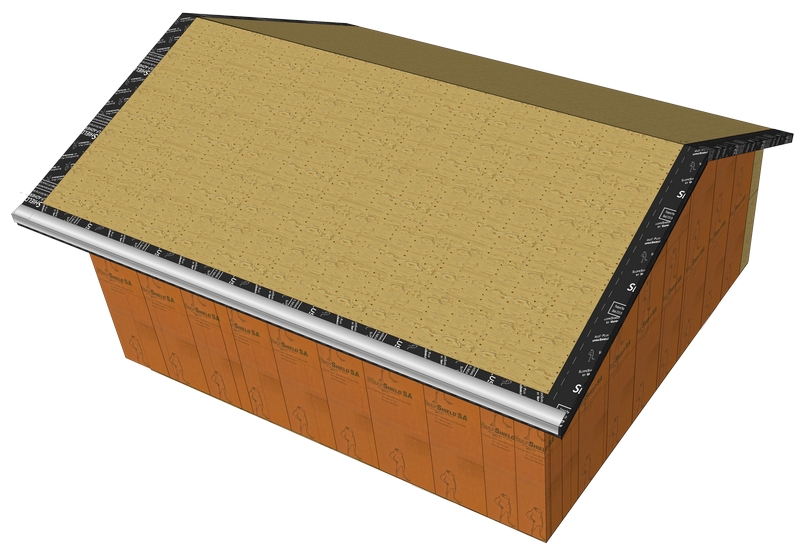
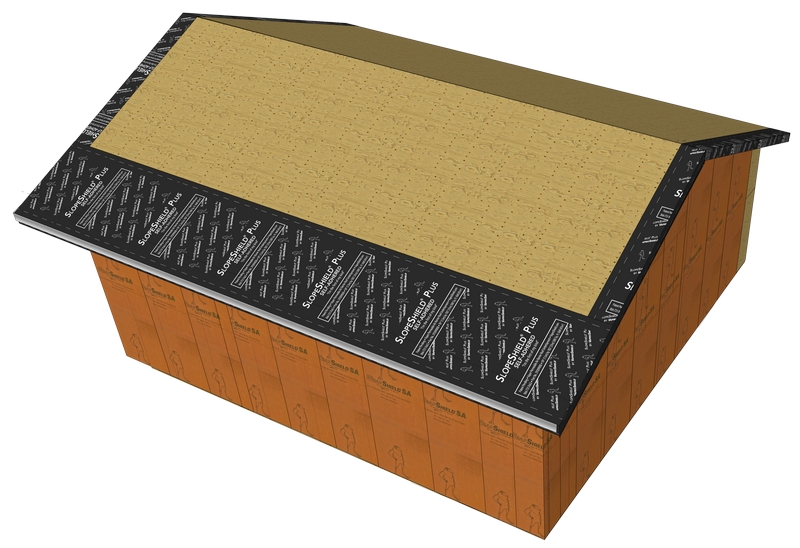
RIBBIT TIP:
Verify with the roofing manufacturer if VaproShim SA Self-Adhered (1/8” or 1/4” thick) can be used under metal roof clips to create:
- watertight gasketing
- extra depth for increased air flow within the roof system
Note: Must be approved by roofing manufacturer.
|
CEDAR SHINGLES/SHAKES WITH VAPROMAT DRAINAGE MATRIX Best Practice Horizontal Installation Instructions |
|
1. Ensure sheathing is in “as-new” condition |
2. Install SlopeFlashing around eaves, extending underlayment down and shingling over wall membrane, if required for air barrier continuity |
|
3. Install SlopeFlashing on roof gables, extending underlayment down and shingling over wall membrane, if required for air barrier continuity |
4. Install metal flashing (by others) over SlopeFlashing |
|
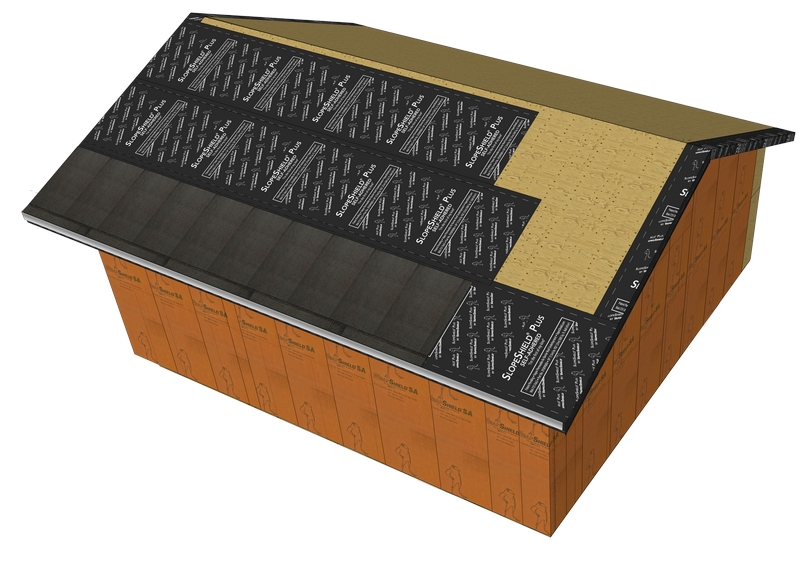
5. Horizontally install SlopeShield Plus underlayment across roof, starting at the bottom of the roof |
6. Continue installation maintaining a minimum 3" overlap between runs |
|
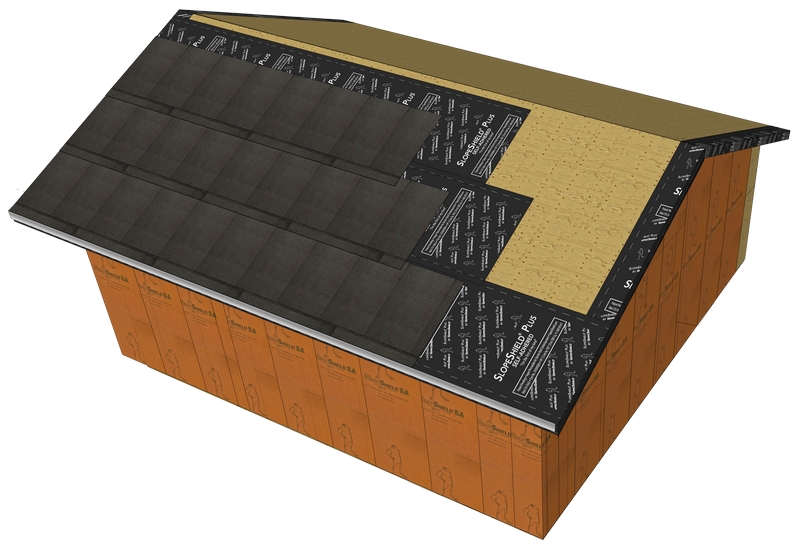
7. Install VaproMat drainage matrix over SlopeShield Plus to create rain screen. Bottom row of VaproMat installed with selvedge folded under for insect infiltration protection. |
8. Install VaproMat up roof, maintaining overlap between runs |
|
9. Install cedar shingles over VaproMat as per manufacturer's installation guidelines. |
|
|
PENETRATIONS |
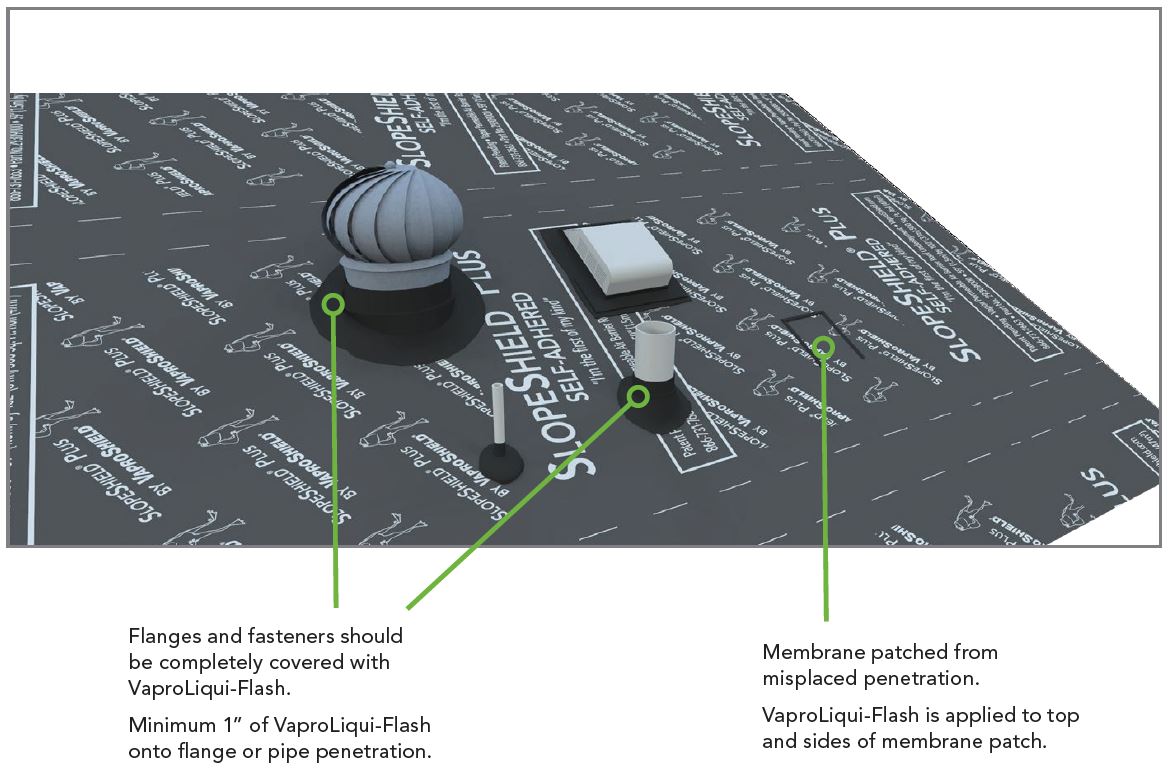
For all penetrations: tool VaproLiqui-Flash evenly AT LEAST 2" onto face and AT LEAST 1" out along all sides of the penetration
|
AIR BARRIER CONTINUITY |
To achieve air barrier continuity, review venting requirements for roofing assembly.